#
Integrate Widget

#
Choose your network type
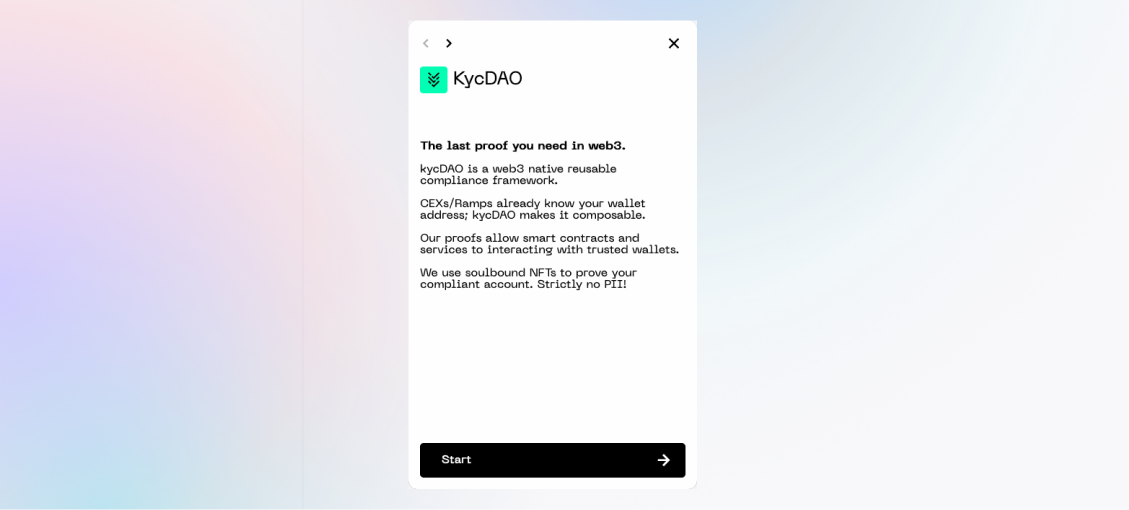
In order to determine how best to use the widget on your site, select the networks you're using. You can see our full list of supported networks here and our full list of supported wallets here.
Should you choose to integrate on-chain, please refer to our on-chain integration guide.

EVM chain
If you're using an EVM chain like Polygon or Celo, you'll be recommended to use our more secure iframe client


Non-EVM chain
If you're using a Non-EVM chain like Solana, Near or Aptos, you'll be recommended to use our library installed via a package manager
#
Quick start for EVM chains
yarn add @kycdao/widgetOr
npm install @kycdao/widgetIf you're using webpack 5 or later you'll need to add the crypto module to your webpack config, as webpack 5 no longer polyfills it by default.
Step 2 Import the Widget Iframe client.
import { KycDaoIframeClient } from '@kycdao/widget'Step 3 Create an Iframe client instance and open it conditionally.
const iframeClient = new KycDaoIframeClient({
    parent: '#modalroot',
    iframeOptions: {
        url: "https://sdk.kycdao.xyz/iframe.html",
        messageTargetOrigin: window.origin,
    },
    config: {
        demoMode: true,
        enabledBlockchainNetworks: ["PolygonMumbai"],
        enabledVerificationTypes: ["KYC"],
        evmProvider: "ethereum",
        baseUrl: "https://staging.kycdao.xyz",
    },
})

function Iframe() {
    return (
        <>
            <button onClick={() => iframeClient.open()}>
                Open modal
            </button>

            <div id="modalroot" />
        </>
    )
}
Success!
You're all set! You can now use the Widget in your application.
For details on the config used to initialize the Widget, see: Configuration options
#
Quick start for non-EVM chains
Step 1 Add the Widget package to your project with:
yarn add @kycdao/widgetOr
npm install @kycdao/widgetIf you're using webpack 5 or later you'll need to add the crypto module to your webpack config, as webpack 5 no longer polyfills it by default.
Step 2 Import the Widget and its styles.
import { KycDaoWidget } from '@kycdao/widget'
import '@kycdao/widget/app.css'
import '@kycdao/widget/client.css'
Step 3 Create a Widget widget instance and render it.
{/* Render conditionally, as and when the widget / modal needs to be open */}
<KycDaoWidget
    onSuccess={(tx_url) => console.log(tx_url)}
    onFail={(err) => console.error(err)}
    config={{
        demoMode: false,
        baseUrl: "https://staging.kycdao.xyz",
        enabledVerificationTypes: ["KYC"],
        enabledBlockchainNetworks: [
            "PolygonMumbai",
            "EthereumGoerli",
            "CeloAlfajores",
        ],
        evmProvider: window.ethereum,
    }}
/>
Success!
You're all set! You can now use the Widget in your application.
For details on the config used to initialize the Widget, see: Configuration options
#
Other ways to integrate