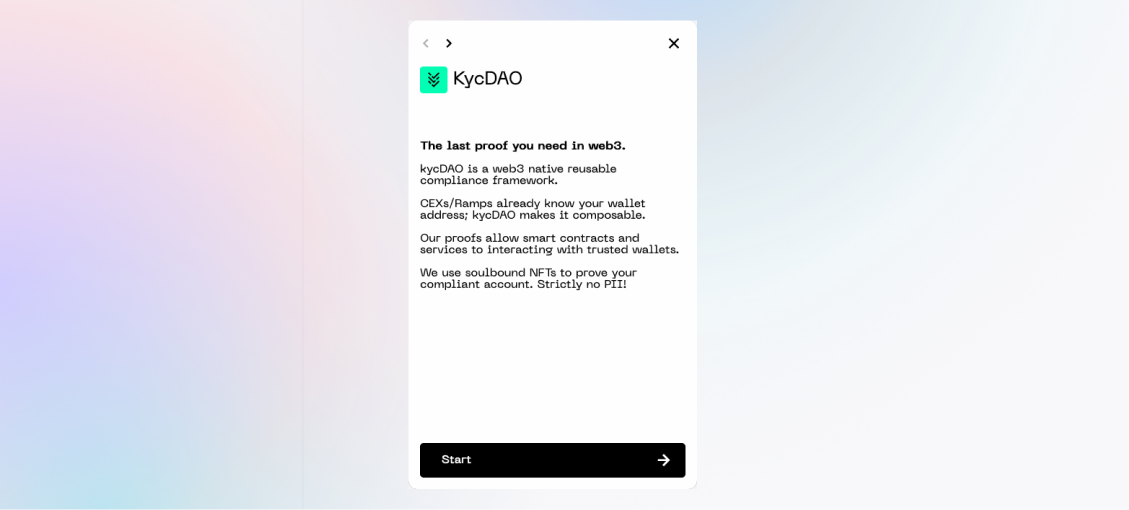
#
Use with Create React App

Follow the steps below to integrate the Widget in a Create React App application.
#
Integration steps
Step 1 Add the Widget to your project with:
yarn add @kycdao/widgetOr
npm install @kycdao/widgetStep 2 Override the default webpack configuration using CRACO by following the steps below:
CRACO
If you haven't already, install CRACO. See the CRACO documentation for more information.
Need help choosing your integration type (Iframe vs Component) fits best? Check out our Usage matrix.
Step 3 Import the Widget Iframe client.
:::code source="../../integration-examples/evm-cra-example/src/Iframe.tsx" range="1" :::Step 4 Create an Iframe client instance and open it conditionally.
:::code source="../../integration-examples/evm-cra-example/src/Iframe.tsx" range="3-50" :::Step 3 Import the Widget
:::code source="../../integration-examples/evm-cra-example/src/Component.tsx" range="2" :::Step 4 Create a Widget widget instance and render it.
:::code source="../../integration-examples/evm-cra-example/src/Component.tsx" range="4-50" :::Success!
You're ready to roll 🚀
#
Configuration options
For details on the SDK configuration, see: Configuration options
#
Full examples
If you're looking for full examples, check out the Integration examples page.